
Starlight Headliner Kit
Best Place to Hide Starlight Engine
May
When it comes to the starlight headliner kit, many people only focus on these details at first:
How many stars should I need? Do I need to add the shooting star effects? Which one is better? 0.75 or 1mm Fiber optic strands, how to choose the color of the ceiling roof.
But when you install the starlight kit, you will face another common question: Where should I hide the starlight engine?
It’s very strange that there are so many starry effect videos online, but there is almost no practical content or blog to teach you how to properly place your starlight headliner kit. Most of us only realize this problem when we start to install the kit. Although this light engine box looks compact and all, it turns out to be the biggest headache in the entire DIY process.
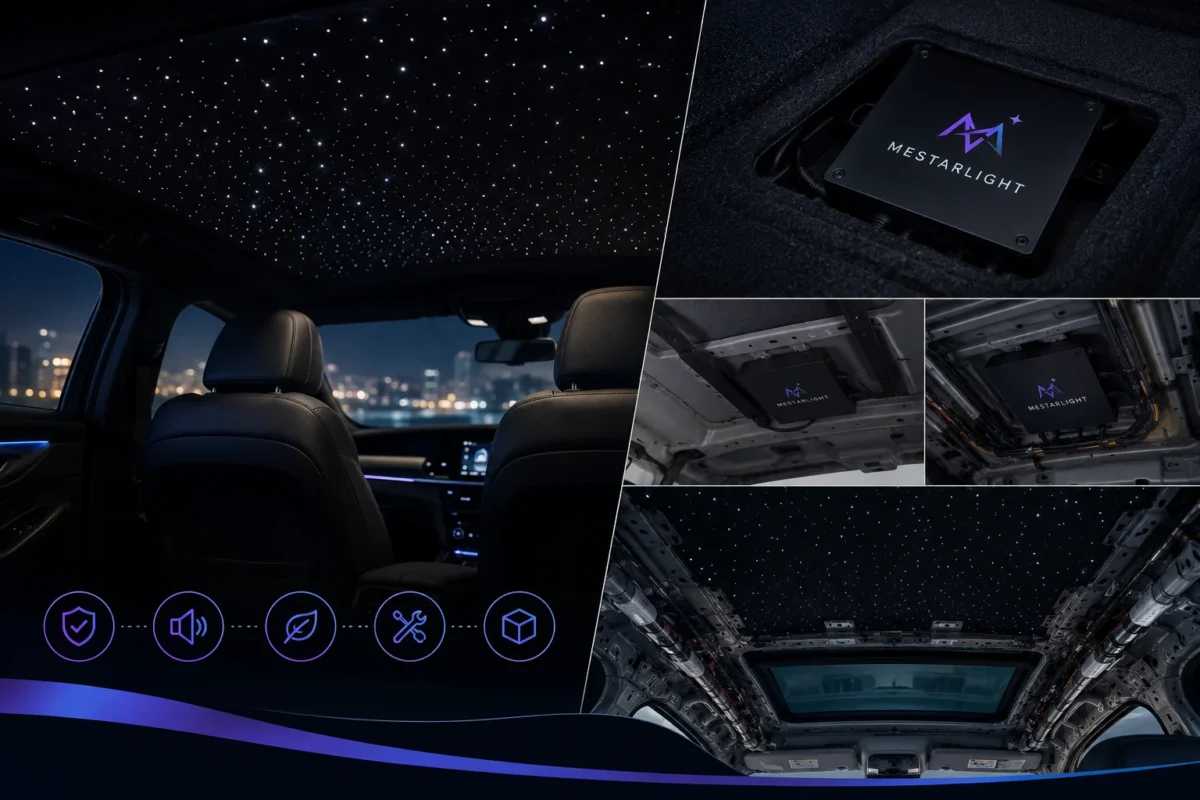
Unlike flexible fiber optic cables that can be bent and routed easily, the light engine has strict requirements:
· It needs enough space to mount.
· Proper heat dissipation
· Hide the engine out of sight.
· Do not affect the restoration of the roof
· Easy access for future maintenance and repairs.
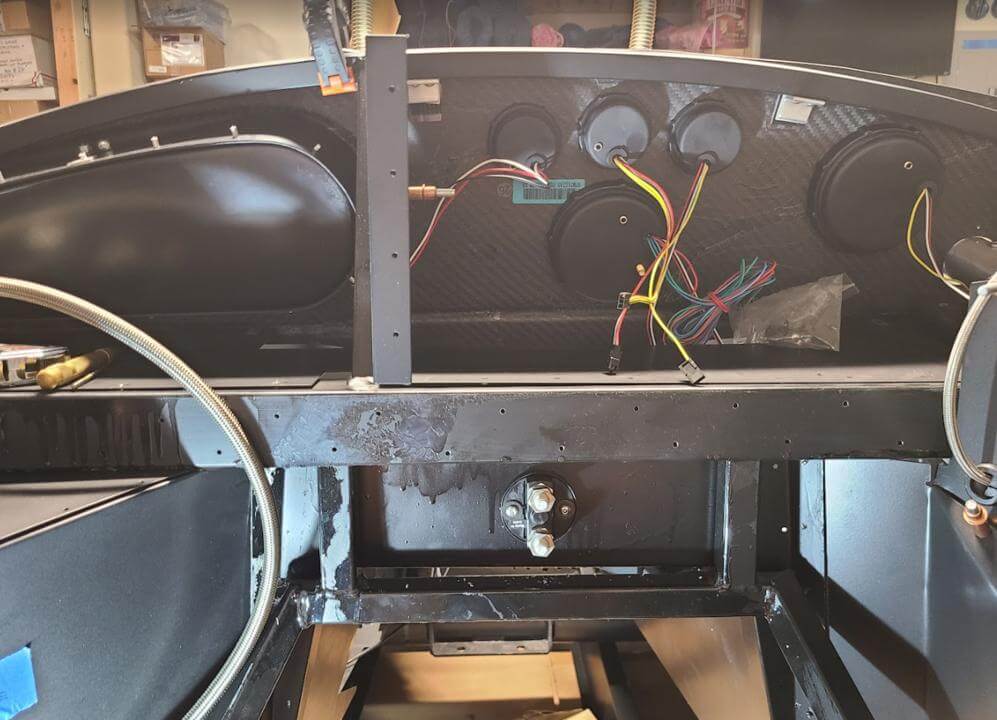
Now, since many modern cars have many factory configurations like panoramic sunroofs, electric sunshades, side curtain airbags, and complex internal roof structures, this is even harder.
Many DIY enthusiasts get halfway through the install only to realize an awkward truth:
The inside of the roof is nowhere near as empty as it looks.
It is normal that the failure of installing the starlight kit is not the bad performance of the star effect but the hidden installation issues caused by improper engine placement. The common problems are as follows:
· The headliner cannot be reinstalled properly
· Annoying sunroof noise
· Unwanted bulges on the roof surface
· Fiber optic strands crushed or broken during installation
· Obvious fan noise from the exposed light engine
Actually, the location where the starlight headliner kit is hidden makes a difference and since it mainly determines the overall look, cleanliness, and durability of the whole starlight headliner upgrade, it is very critical.
Shop Starlight Headliner Kit

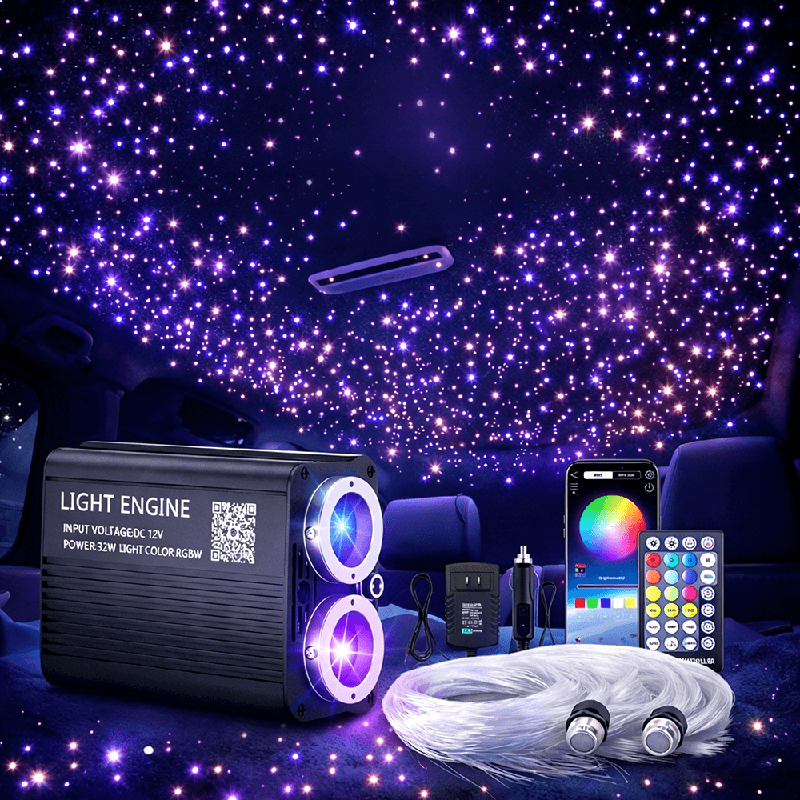
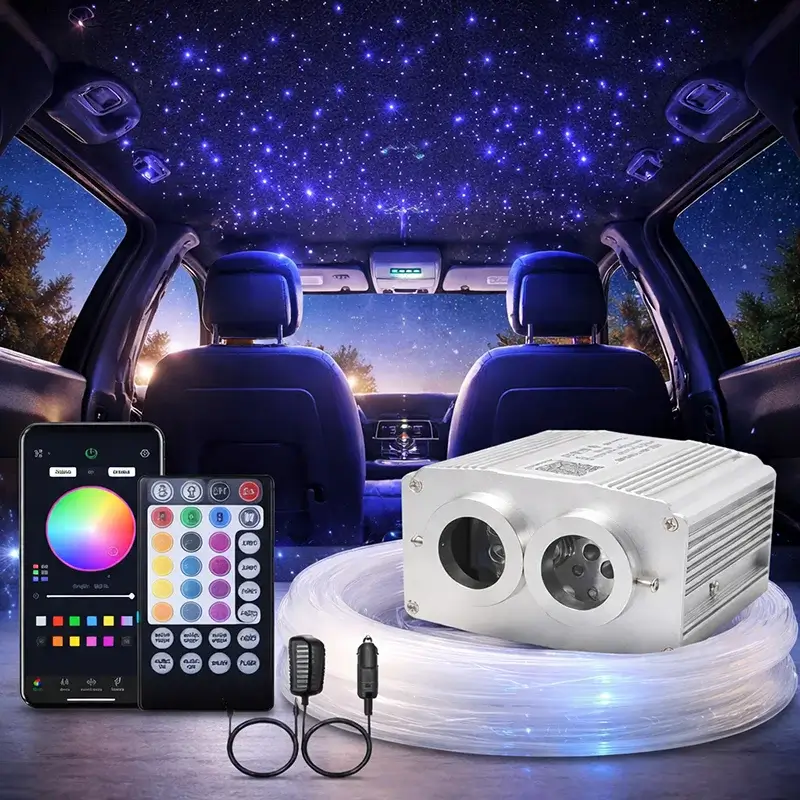
Luxury 32W 1000 Pieces Starlight Headliner Kit With Shooting Stars Dual-Engine Star Ceiling Fiber Optic Lights for Car Truck Home Party
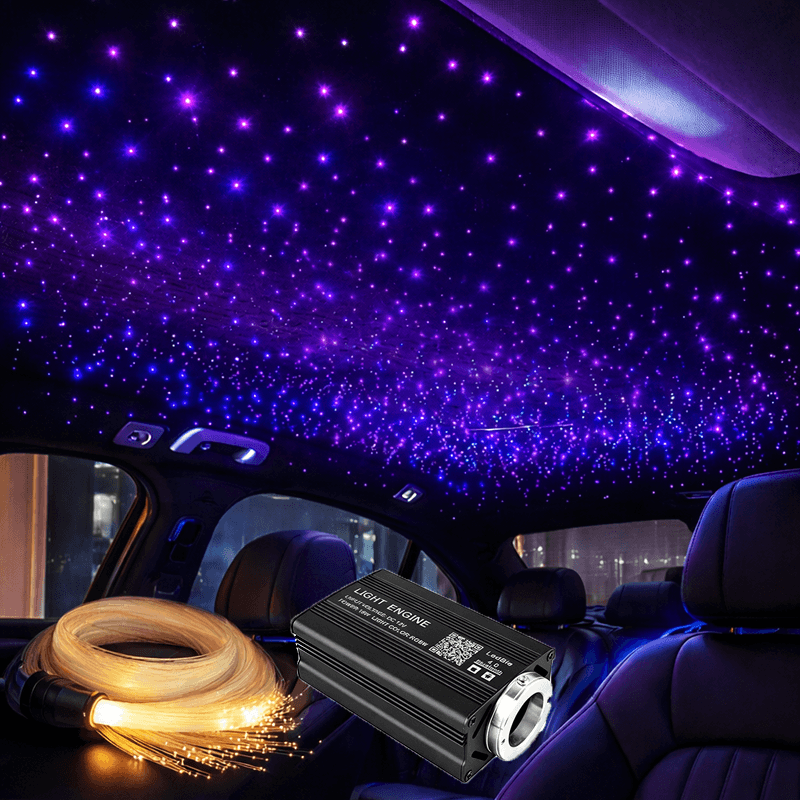
Price range: $149.00 through $189.00Twinkle 500 Pieces Starlight Headliner Kit for Car, RGB 16W Fiber Optic Lights for Headliner, APP Remote Control
Price range: $79.00 through $99.00
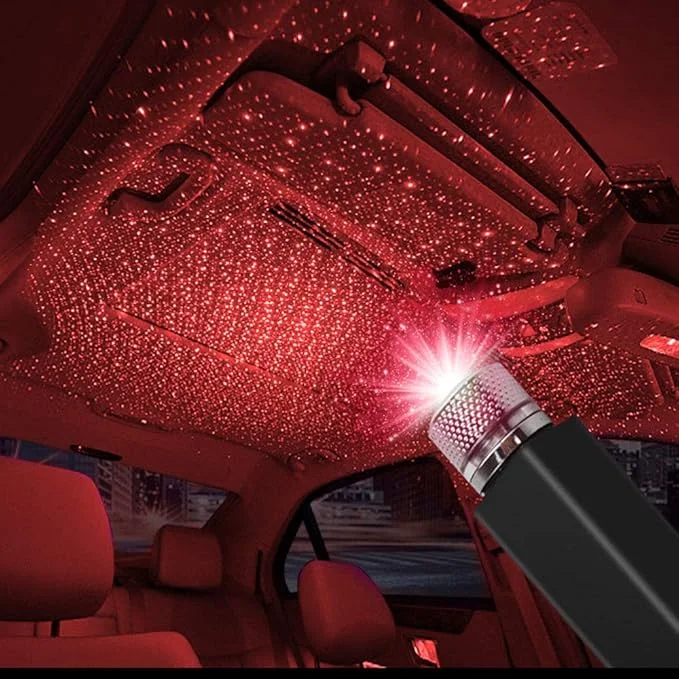
Universal USB Star Lights for Car Adjustable Ceiling Star Lights Lamp Projector for Home Club
Price range: $13.90 through $18.90Upgrade Dual Port 16W 800 Piece Starlight Headliner Fiber Optic Kit Remote APP Control for Car Home Ceiling
Price range: $149.00 through $189.00
Why It Matters So Much to Hide Your Starlight Engine
Today, I’m going to talk about why choosing the ideal installation spot for your starlight engine is so crucial.
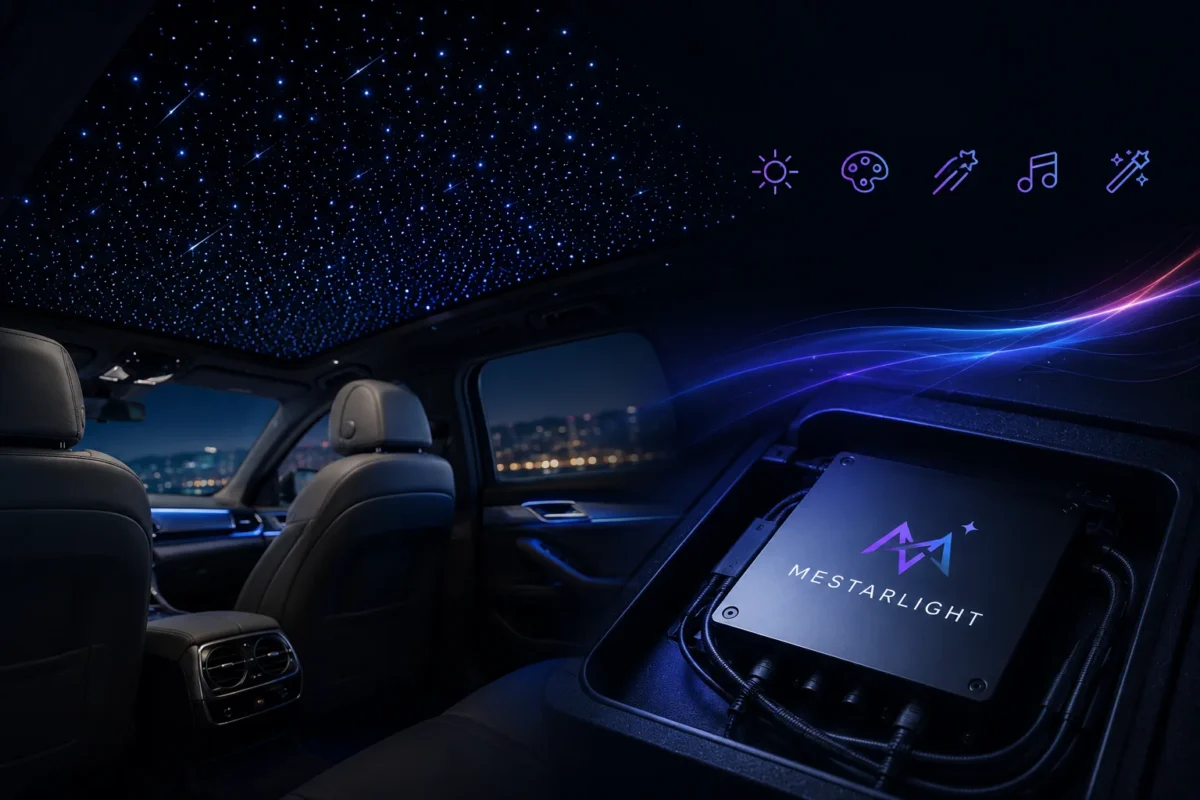
As the core control hub of the entire car star ceiling system, the starlight engine governs every functional detail. It adjusts light brightness, switches diverse color tones, creates vivid shooting star effects, and supports all smart scene modes.
All practical features, including music rhythm sync, dynamic flash lighting and ultimate immersive visual experiences, are fully powered by this core device.
Tucking the engine neatly out of sight keeps your interior layout clean and tidy without messy exposed parts. It quietly runs all background programs and stably drives all lighting effects, bringing you a neat look as well as perfect using experience.
Why Trunk installation is Always the First Choice for Professional Installation?
In fact, for most car models, the trunk has been the default optimal solution.
People might come up with different questions when they first see that option:
“Isn’t it too far to put it in the trunk? “
There will be a counter-argument that the truth is quite the opposite.
The biggest principle for installing professional equipment is
“The equipment must be concealed from the passenger area. “
Many high-powered RGBW starlight lights now have an internal fan for cooling. Those fans create very little noise when they operate; you may not notice it during the day, but at night, when it’s quiet, this faint sound will be very noticeable. If you place the apparatus under the seats or near the rear seats, you will realize that you may hear a “humming” sound while driving at night. Besides that, trunk installation is more favorable for the longevity of the unit.
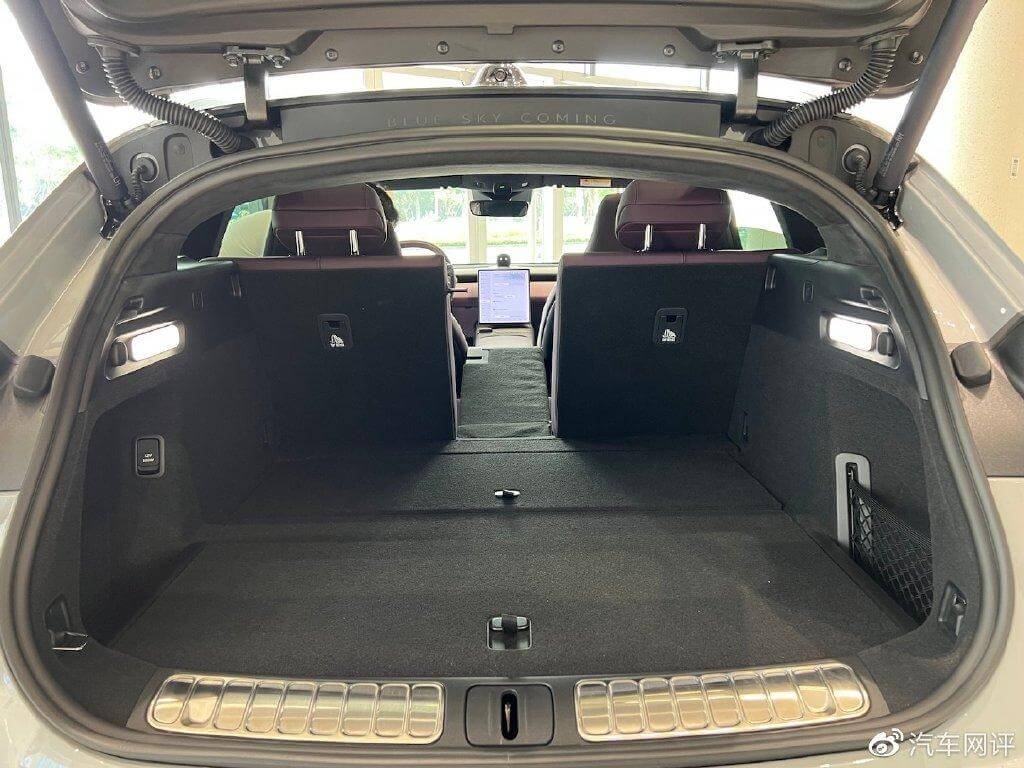
The Advantage of Hiding the Starlight Engine in the Trunk
1. Trunks Offer Enough Space
Most trunks usually have enough space and that means you don’t need to bend the fiber optic cables or starlight engine into a confined spaces, which may damage the cables or cause bulges in the roof during wiring. The large trunk space allows you to display theb wires neatly so it’s convenient for later disassembly and repair.
2. Trunks Have Better Heat Dissipation
Many beginners often overlook the issue of heat dissipation during the first installation. High-power RGBW engine of light can generate lot of heat after running for a whole day.
Thanks to the trunk’s enough space and strong airflow, it can help the high-power RGBW engines cool quickly. Therefore, good heat dissipation, to some extent, can extent the lifespan of the light source. Cheaper models might fade or flicker because they don’t handle heat well.So that’s the importance of better heat dissipation.
3. Convenience for Future Maintenance
Many people tend to skip this point before installing their starlight headliner kit. But actually you may face a bunch of problems later on including remote control re-pairing, Bluetooth connection issues, power fuse checks, app control problems, and engine repair and replacement.
If you install the starlight engine into the roof, it could means that you will have to remove the whole roof, which is indeed a complex and challenging task In fact. Therefore, during installation, we recommend that you run more cables and put the engine in the trunk.
